Sunday, February 19, 2012

Honey Chicken

This is my new favorite meal (do I say that too much?) - it is healthy, extremely flavorful, and excellent as leftovers.  I found it on pinterest, and just adapted it to be gluten free.  It goes excellent over brown rice.

Honey Sauced Chicken

1 pkg chicken tenders (approx. 1.25 lbs)
1/2 tsp. salt
1/4 tsp. black pepper
1/2 cup honey
1/4 cup low sodium gluten free soy sauce (I like Tamari)
1/8 cup chopped onion
1/8 cup ketchup
Pour the remaining sauce over rice...mmm.
1 Tbsp. canola oil
1 clove fresh garlic, minced
1/4 tsp. red pepper flakes

Preheat oven to 350 degrees.  Dice your chicken into small bite-sized chunks and season both sides with salt and pepper.  Place chicken pieces into an 8 x 8 baking dish.

Combine the rest of the ingredients in a small bowl to create the honey sauce.  Pour the sauce over chicken.  Bake for 20 minutes, stirring half way through. 

I hope you enjoy this delectable dinner as much as I do!

Italian Cheddar Bake

Okay, so I will go ahead and admit that this recipe is not low-fat weight-watcher quality, but it tastes pretty darn good.  If you have a husband with a huge appetite like I do, you'll get one healthy serving in and the rest will be history.  I can only find this macaroni and cheese at Randall's, so start looking around now.

Italian Cheddar Bake

1 box Annie's gluten free creamy deluxe macaroni and cheese
1 lb. lean ground beef
1 can (14 oz) italian-style stewed tomatoes, undrained
1/2 tsp dried basil leaves
1 cup shredded cheddar cheese


Preheat oven to 400 degrees.  Prepare the Annie's mac-n-cheese as directed on the package.  Meanwhile, brown your beef in a large skillet; drain.  Add tomatoes and basil to beef and mix well.  Bring back to a boil. 


Add the fully prepared macaroni and cheese to the beef mixture.  Stir well.  Spoon into a medium-sized casserole dish and sprinkle lightly with cheese.


Bake for 10 minutes or until the cheese is melted and the dish is heated through.  Yields 4 servings.


Tuesday, January 31, 2012

Granola Bars


The perfect snack

These granola bars are delicious! The oats add lots of fiber, making them a great snack to fill you up between meals.  I again substituted applesauce for canola oil, cutting way back on fat and WW points.  Plus, the chocolate chips make them feel like a dessert.  : )


Gluten Free Granola Bars

2 1/2 cups gluten free quick oats (I used Bob's Red Mill)
1/2 cup gluten free rice crispies
1/2 cup mini semi-sweet chocolate chips
1/2 cup brown sugar
1/3 cup unsweetened applesauce
1/4 cup honey
1/2 tsp vanilla
1/2 tsp salt

Preheat oven to 350 degrees.  Mix all of the ingredients minus the chocolate chips together in a large mixing bowl.  I used a spatula, but if you are a hands-on kind of cook (I'm not), feel free to mix with hands.  Mix until all dry ingredients are wet and clumping together well.  Stir chocolate chips into mixture and continue mixing until evenly dispersed. 

Browned and Toasty
Cover a baking pan (I used 13 x 9) with wax paper and spray with cooking spray.  Press oatmeal mixture firmly onto wax paper in pan, spreading evenly.  Bake for 17-22 minutes, until slightly browned.  Allow the mixture to cool overnight.  Cut into 14 granola bars the following day.  Store in airtight container.


** Weight watchers points+ 4 per bar

Tuesday, January 24, 2012

Blueberry muffins

There are a few things that I have been unable to find in a gluten free form, and blueberry muffins are one of them.  I absolutely adore a warm, lightly buttered blueberry muffin for any occasion- breakfast, snack, or dessert.  I worked hard to make these "cheap" in weight watcher points by substituting applesauce for vegetable oil, which might just become my new favorite baking trick.  I hope these warm up your day as much as they did mine!

Blueberry Muffins

1 can blueberries (drained and rinsed) or 1 cup fresh blueberries
4 eggs
18 oz. gluten free cake mix (Betty Crocker is great)
1 pkg vanilla fat free/sugar free instant pudding (4 servings)
1/2 cup unsweetened applesauce
3/4 cup milk
1 tsp vanilla extract

Beat the eggs lightly in a large mixing bowl- I am always excited to find ways to use my adorable pink stand mixer!  Slowly mix in the cake mix (yes, this is a weird amount.  I had to buy 2 boxes and use only about 1/5 of the second box), pudding mix, applesauce, milk, and vanilla.  Mix until batter is smooth and creamy (you may need to taste test at this point...delicious!).  Gently stir in your drained blueberries and fold over into the batter. 

Pour into muffin cups, only to about 3/4 full.  Bake for 20 minutes or until lightly browned.

**Points+ value: 3 pts per muffin

Monday, January 16, 2012

Mexican Chicken & Rice Bake

  Are you seeing a trend here? We use alot of chicken for our meals.  Lean, versatile, and quick & easy to cook.  I did make a beef recipe last week that M loved, so I will add that soon.  Well this chicken and rice bake reminded me of a Chipotle chicken and rice bowl, which makes it a huge winner.  I added more chicken than the original recipe called for, which scores major points with my protein-obsessed spouse.  This recipe is the kind that can be prepared the night before and baked shortly before dinner time.
Directions left for my ever-so-helpful husband :)


Mexican Chicken & Rice Bake
(makes 6 servings)

 
4 boneless, skinless chicken breasts (cooked)
 4 cups cooked brown rice
8 oz. plain greek yogurt (I prefere Fage)
1 can black beans (drained and rinsed)
3/4 cup frozen corn
4 oz. can green chiles
1 cup low-fat mexican blend cheese  + a few sprinkles for topping
2 Tbsp green onions
1/2 cup salsa

Garnish: 2 Tbsp chopped cilantro for serving

Beforehand, cook your brown rice and chicken breasts.  Shred your chicken into small bite-size pieces. 

Preheat oven to 350 degrees.  In a large bowl, combine all of your ingredients, leaving out a few sprinkles of cheese for topping.   Pour mixture into a medium sized baking dish.  Sprinkle remaining cheese on top.  Bake for 20-25 minutes, or until the dish is completely heated through.  Top with cilantro for serving.

*Weight Watcher Point+ value: 7 points per serving*
Enjoy!
Finished product


Breakfast Bites

 Sorry I haven't had time to blog this past week- I've been very busy becoming an Aunt!!


Yes, I realize this doesn't take much of my time...bad excuse.  I just had to throw in a picture of my precious new niece. :)


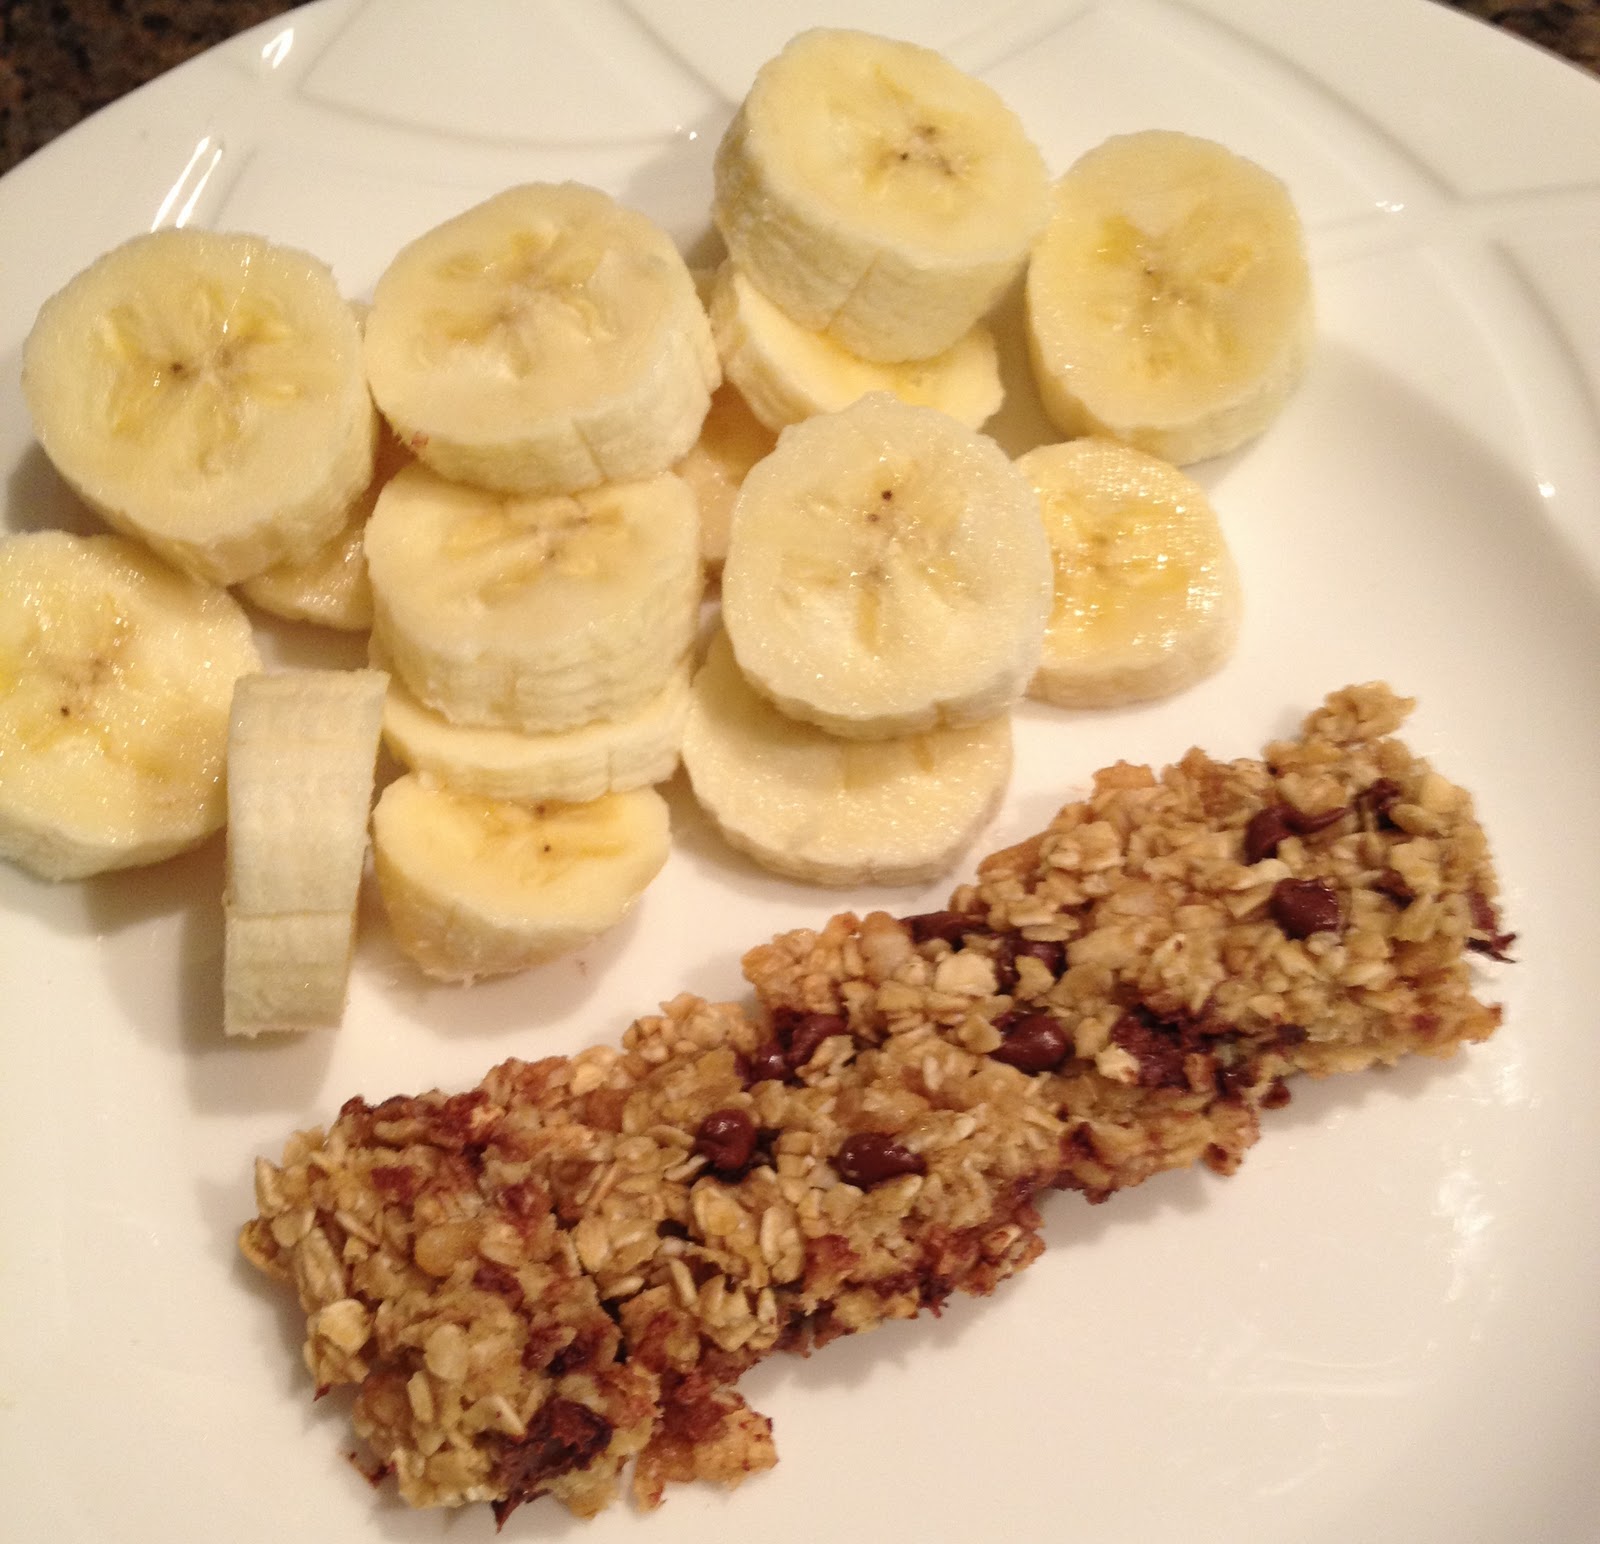
Anyway, I dont know about you, but as a gluten free gal I'm always struggling to find healthy breakfast items that will fill me up and give me energy.  When I saw these naturally GF breakfast bites on pinterest, I knew I had to try them out.  I worked hard to make them low in fat/carbs/calories as well and calculated and included the weight watchers points+ value as well. 
* One piece of advice, don't fill the muffin cups all the way.  Mine were enormous (because I filled them up all the way...dingy) and therefore shriveled when cooling... the picture is awful, apologies.  I will be investing in a sillicone muffin pan and filling them up only 3/4 of the way full next time.

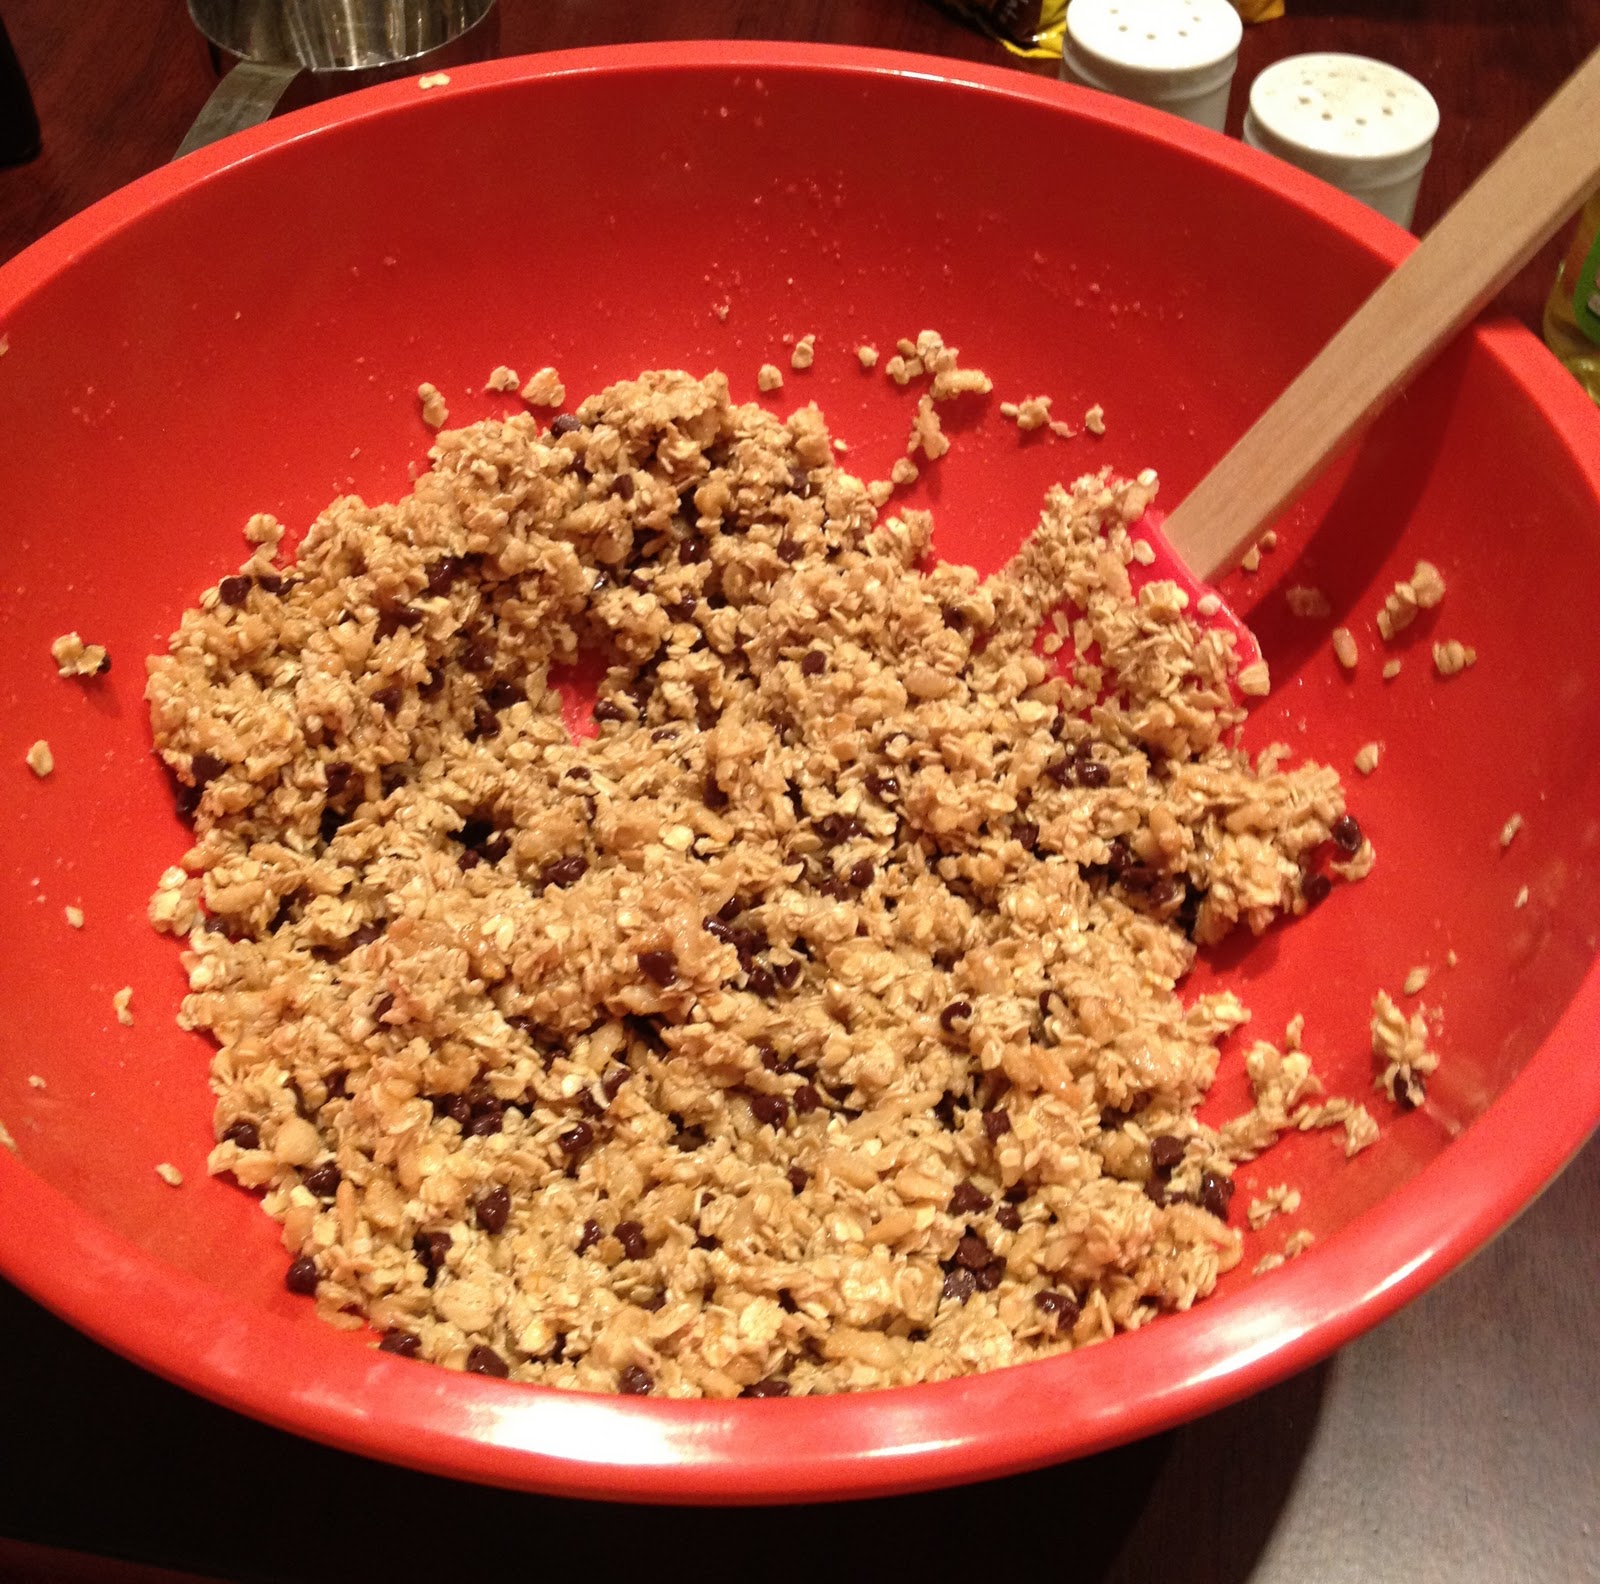
Ingredients minus the milk
Breakfast Bites

10 organic, cage-free eggs (lower in fat, bazinga)
1/3 cup fat free milk
1 Tbsp Spike seasoning

1/2 cup turkey sausage crumbles
2/3 cup low fat cheese (Cheddar or mexican mix)
2 Tbsp chopped green onions

Preheat oven to 375 degrees.  In a large bowl, whisk the eggs, milk, and spike seasoning together.  Set aside. 


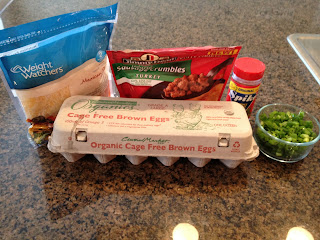
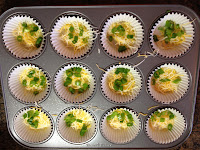
Muffin cups filled with cheese,
meat, and green onions.
In a sillicone muffin pan (seriously, I think it's vital to the success of these delicious creations...I cooked mine in pam-sprayed muffin tins and they are stuck to the tins), spray non-stick spray into each cup.  Begin by filling the cups with cheese, cooked turkey sausage, and green onions.  Feel free to add any other veggies or substitute meat. 

Then pour the egg mixture into each muffin cup on top of the other ingredients, only up to 3/4 full. Use a fork to stir each cup's ingredients together.


Bake for 25-35 minutes or until all of the breakfast bites have risen and are set.  Allow to cool then store in refrigerator for up to a week.  Reheat in the microwave for 1-2 minutes. I plan on grabbing 1 or 2 to heat up at work as a mid-morning snack. 
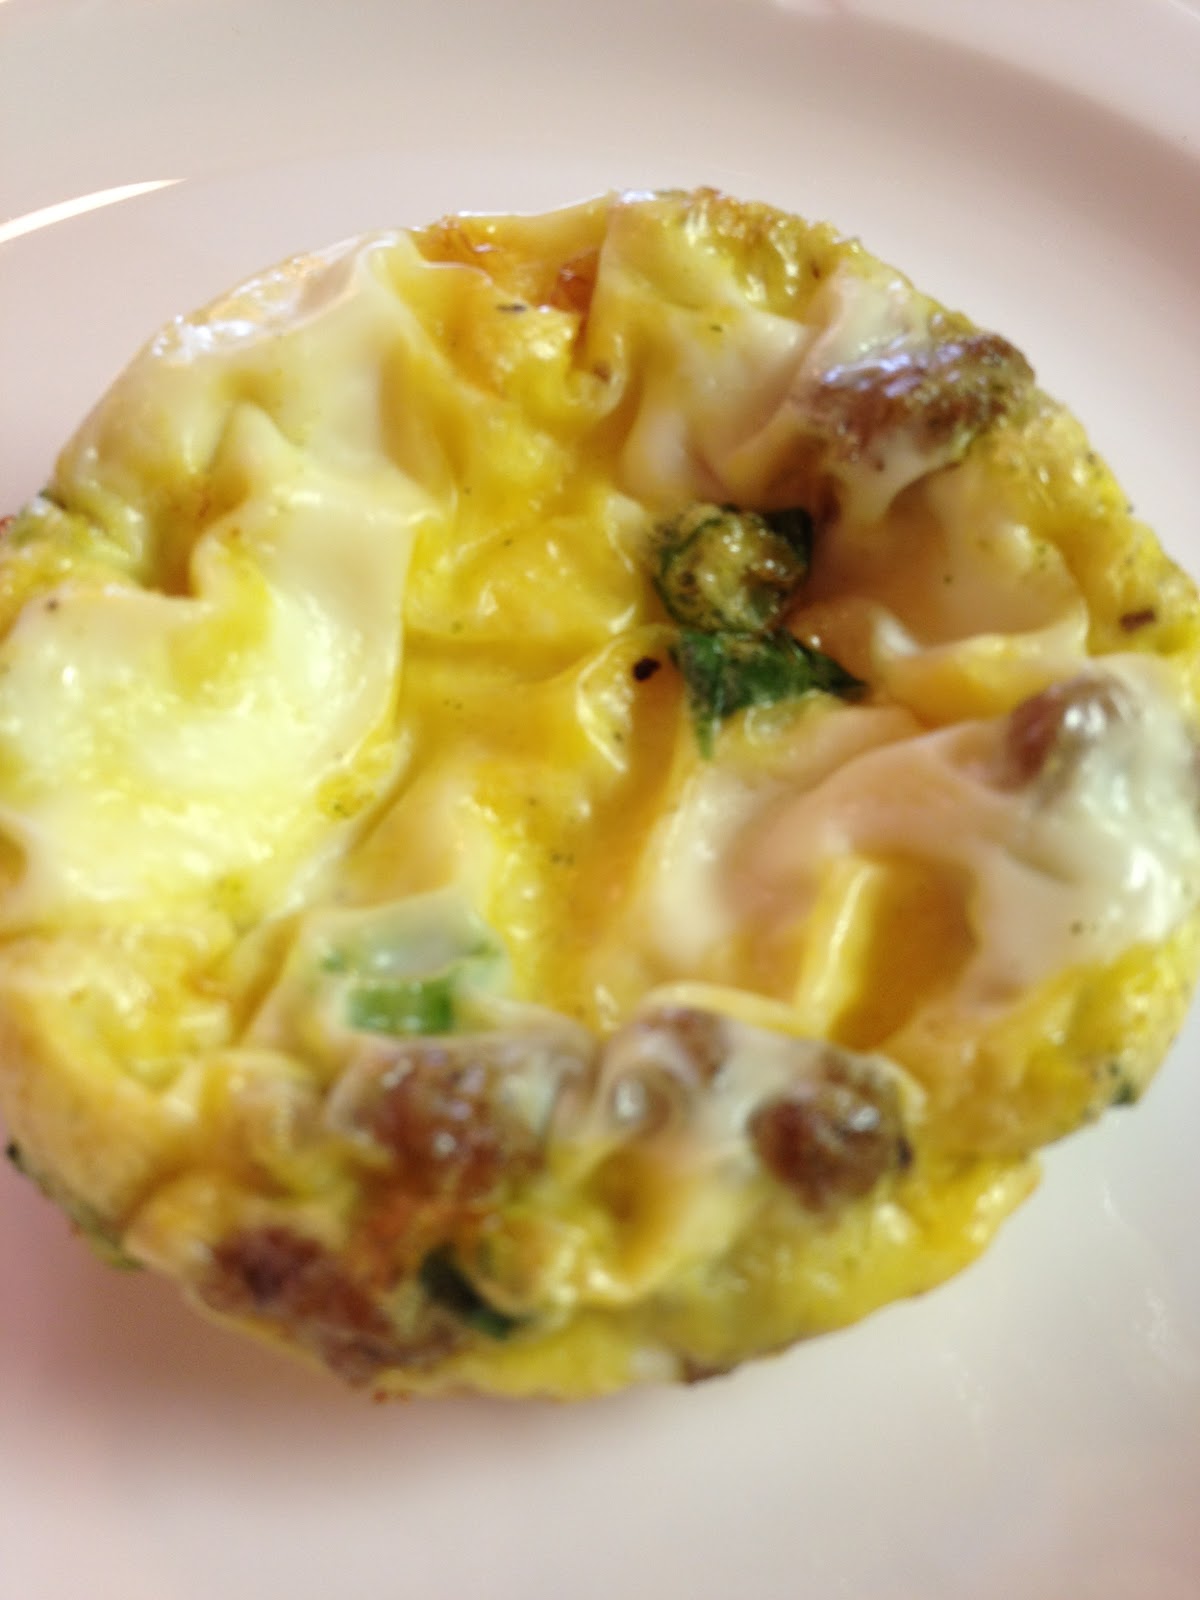
Shriveled but delicious

Points+ value: 2 1/2 points per bite, or 2 for 5 points! Great with 0 point fruit.


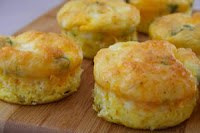
What your breakfast bites SHOULD
look like if you use a sillicione pan...

Saturday, January 7, 2012

Pesto Chicken


I found this delicious recipe on the ever-so addictive website, Pinterest from a website called Kalyns Kitchen.  Recently I have been trying to make new recipes from here, converting little things here and there to make it GF.  This one was a huge hit (Matthew said he coulda eaten the whole pan if I didn't insist on saving leftovers).  This will definitely become a regular around here.

Pesto Chicken

4 boneless, skinless chicken breasts
4 Tbsp low-fat sour cream
4 Tbsp Basil Pesto (used Buitoni reduced fat)
4 Tbsp grated parmesan (pinterest recipe called for mozzeralla...will try this next time and report back)

3 eggs, beaten
1 cup GF corn flake crumbs, finely crumbled
3/4 cup grated parmesan cheese
Black pepper to taste


My assistant chef...I struggle
with raw chicken.
 Preheat your oven to 375 degrees F.  Spray a medium sized casserole dish with non-stick spray and set aside.  Place each chicken breast into a large plastic baggie and pound with a meat mallet until the chicken is very thin. 

In a small bowl, mix together the sour cream, basil pesto, and parmesan (or mozzarella) cheese.  Spread the mixture onto each chicken breast, and roll the chicken breasts up with the mixture on the inside.  I kept them together with small food skewers, toothpicks would work as well.

Now for the batter.  Place GF corn flakes into food processor and grind until very fine, the consistency of bread crumbs. In a small bowl, mix the corn flake crumbs, the 3/4 cup parmesan cheese, and black pepper to your liking.  For the pepper I just sprinkled, stirred, sprinkled, stirred until it was visible.   In another small bowl, beat your 3 eggs. Dip each rolled chicken breast into the egg, then into the corn flake mixture, covering completely. 

Place chicken rolls into greased casserole dish. Bake for 30 minutes, checking to ensure the chicken is firm.  I then placed mine on the top rack for 3 minutes to get them extra crispy. :)  Serve immedietely, as they are melt-in-your-mouth delicous when hot.


Sunday, January 1, 2012

Caldo de Pollo

Last week, we visited family in San Antonio.  San Antonio has the best Mexican food restaurants, so of course we visited our favorite eatery: Paloma Blanca.  They have a huge gluten free menu to choose from- I decided on a savory mexican soup: caldo de pollo.  As I was eating, I realized how EASY this would be to create at home!  One of my goals for 2012 is to increase my fresh veggie intake, and this soup made it easy to make that happen.  Next time, I think I'll add even more veggies (squash & zuchinni).  Plus this recipe gave me a chance to use the new programmable 6 qt crock pot my parents gave us for Christmas! :) 


Grocery list

Caldo de Pollo

3 whole carrots (chopped)
1 green bell peper (chopped)
1 yellow onion (finely chopped)- I actually only used about 1/2 to 3/4 of onion
1/4 cup cilantro (finely chopped)
1 avocado
1 can white beans (drained and rinsed)
3 russet potatoes (peeled and cut into quarters)
1 qt chicken broth (organic and gluten free, of course)
4 cups water
2 lb chicken (uncooked, cut into large pieces)
2 tsp salt
1/2 tsp. black pepper

Combine all of the ingredients into a large crock pot and stir.  Cover and cook on low for 8-9 hours.  Garnish with fresh cilantro and avocado if you please. The soup that I had in San Antonio actually had rice in it also, but I decided to leave it out to lower the carb content.


Mmmm...

This soup makes quite a bit, I'd say 6-8 servings. So if you enjoy soup for lunch like I do, this could last a while as leftovers.  Enjoy!